HD Police Springer Seat Conversion for the Suzuki Savage
by Art MacArthur - 
The following information contains instructions with photos as
to how
to fit a Harley Davidson police motorcycle seat with springs, onto a
Suzuki Savage.
(Editor's Note: Most of these
pictures have closeups - to access, click on the picture. To get back
to the text, use your BACK button.)
Most riders feel that the seat on the Savage is uncomfortable.
Some, like myself, can't stand more than 30 minutes on the seat.
The goal was to design a seat whose springs would absorb almost all
road shock, regardless of road conditions or type of shock absorbers
used. I am now able to ride for hours, with no discomfort.
Another goal was to do it as simply and as cheaply as possible,
so as to make the conversion possible for those riders having limited
fabrication skills and no access to a machine shop. This fabrication
requires a hack saw, electric drill, a welder capable of good
penetration of 3/16" steel, a bench grinder and a few wrenches
and screwdrivers. No cutting, drilling or welding will be done to
the Savage, and the entire assembly can be removed and the motorcycle
returned to stock configuration.
I did a similar thing to an old Honda I had years ago, although I had
to
use different springs due to the bike design. It looked like this:

Please note
that this arrangement requires the rider to have at least a 30"
inseam. Riders with less than a 30" inseam will not be able
to rest their foot flat on the ground, unless they make alterations to
this design. The Police seat will sit HIGHER, and FURTHER BACK,
than the stock Savage seat.
Part 1
First, you need to buy a pair of motorcycle "handlebar clamps".
You need the ones that have an I.D. of 7/8", when clamped
together. Mine came from EBay, and cost $5.00. Motorcycle
wrecking yards will have them as well. You need to make sure they
are for 7/8" handlebars, and you can ask the EBay seller if his are
that size. Make sure you buy ones with studs no longer than the studs
on the pictured handlebar clamps (below). Otherwise, the seat may
bottom out on studs that are too long.

The angle iron I used was from old bedframe. You can get similar
angle iron from' Lowes Home and Garden', or 'Home Depot' The seat
frame metal also came from Lowes, as did the Lawn Swing springs.
The handlebar clamps will be clamped to the Savage shock absorber
mounting arms. In order to fit onto the arms, you need to cut and
grind the handlebar clamps. You will have to grind the face of the
clamp that will go on the right side of the bike. You will not
need to grind the face of the clamp that will go on the left side of
the bike. I used the shock absorber mounting arms as a good place to
support the seat assembly because they are very strong and do not move
with the swing frame.
Before you cut the needed slope and step into the clamps, you must
first
countersink a 7/16" hole into one bottom hole of the clamp. You will
only
countersink deeply enough to hide the head of the socket head bolt
(some call these socket screws)

This will allow the socket head bolt/screw to pass through the clamp
and have its head flush with the bottom of the clamp. This has to be
done so the clamp will clear the top of the shock absorber.
Now, look at the clamps again.
If you look more closely, you can see how I had to cut a step
in the top of the clamp. (you will cut this step in both
clamps.)

Also notice here how I ground a slope on the bottom of
the clamp.

You will grind or cut this slope in both clamps, and
it will be on the same side of the clamp that has the step cut into it.
The side of the clamp that is stepped and sloped will face the rear of
the bike.
Also, you will have to grind the face of the clamp that
you will use for the right side of the bike, like this.

Here's a side view showing the ground clamp so you can see the
difference between the two:

This grinding work is needed because on the Savage, the
right shock arm is shorter than the left side arm, and you need to
clear the right shock absorber, because of the shorter arm. You can see
pictures of the shock arms here.
Part 2
This photo shows the seat springs. I also bought them from Lowes
Home and Garden, and you will see the packaging in the pic.

On the top and bottom of the springs, you must weld a thick
washer. The washer holes must be the diameter of the handlebar
clamp threaded stud. I prefer 'grade 8' washers because they are
closer to the hardness of the springs. Before you weld the end
washers onto the springs, you need to drop the 2 nuts and some washers
into the coil of the spring. The amount of washers is relative to the
stud shank length. In other words, when the handlebar clamp stud
fits through the end washer and into the spring, you will see the
unthreaded, smooth shank of the stud. You must place enough
washers around it to be able to tighten the stud nut firmly against the
washer. Those nuts and washers will be needed to attach the
spring to the seat, and to the handlebar clamps. As soon as
you weld one washer to the spring, quench it so as to keep the spring's
temper. The heat from welding will change the temper where the
washer is, so quench it right after you weld a washer on, and then weld
the other end, and quench it.
Originally I used the Porch Springs as is, but found them to be a
little stiff when riding. I thought they might be more comfortable if
they had less tension. So I took them off the seat and clamps,
and ground about 20% off the entire outside edge of both springs.
I did this on a bench grinder. I laid the springs down flat and
at right angles to the grinding wheel, and slowly turned the spring as
I ground. Never stop turning the spring, or you will grind flats
on the spring. ( have a can of water within reach of your grinder..the
springs get too hot to hold from the grinding). Look at this
photo -

The spring you see here is not the springs I finally used. I bought
them from EBay but they didn't have enough tension, which is why I used
the Porch Springs instead. I weigh 185lbs so if you are a lot heavier,
you may not need to grind the Porch Springs. I would suggest you
complete the entire seat assembly and install it, only tightening the
nuts a little bit. Then sit on the seat, while someone is
standing along side the bike and watching the Savage shock absorber
springs. Ideally, the shock absorber springs should not move when
you bounce up and down on the seat. Only the seat's Porch Springs
should be flexing. If the Savage shock absorber springs flex,
then I suggest you grind the seat springs as I've earlier described. Do
a little at a time, re-assemble, and bounce on them again. I know
its tedious to do all this, but once you got it right, your ride will
be very comfortable.
If you look at this picture with the spring attached to the clamp and
you will see how it fits together.

Looking at this photo, you will see how it looks when clamped to the
shock arm.

On the shock arm, there is excess weld. You need to file or grind
it off, so the clamp fits well on the arm. DON'T grind/file
too
much or you will weaken the arm. Just remove the excess
weld. Look at these photos:
| Left
Shock
Arm |
Right
Shock
Arm |

|

|
See how the right arm is shorter then the left arm?
This is why the side of one of the handlebar clamps has to be ground (like in this picture). You have to
make
the
whole clamp more narrow to clear the right shock. In these 2
photos, you can also see where I ground off the excess weld.
Part Three
NOTE:
ALWAYS TACK WELD YOUR PARTS TOGETHER AND THEN SEE HOW THEY
FIT, AND SEE IF EVERYTHING LINES UP, BEFORE YOU FINAL WELD.
Guess who
didn't do that, and had to grind welds off and re-weld?
When you buy a used HD
Police seat, it usually comes with its frame, like this:

You will need to use a piece of that
frame. If you don't have the original frame, then you will need
to fabricate what I refer to as the 'nose piece', which looks like this:

To build the new seat frame, I used 3/16" metal bought from Lowes, and
the 'nose
piece' which I cut off the HD seat frame.
This next picture shows the frame I fabricated
mounted on the seat with the springs attached .

Here are the measurements
of my fabricated frame.

This next view shows the bottom of the seat
frame...this side faces the ground. Notice how I cut the H.D.
nose piece off the H.D. seat frame, and welded it on to my fabricated
frame? I also bolted it as you can see, because my welder doesn't
have the amps to correctly penetrate the 1/4" H.D. frame. Notice
the 2 studs coming out of the frame? This is what the springs
bolt to The back part of the frame where you see 2 holes drilled,
is what bolts to the H.D. seat.

Now look at the top of the seat frame, (the side facing the sky.)
Notice the 2 bolt-heads...the springs get attached to them on the
underside of the frame. I welded the bolt heads to the frame
because I didn't want them spinning around once I tightened the nuts
holding the springs to the frame. The large steel threaded
fitting at the nose of the frame is a 'spacer' used to take up the gap
between the nose and the threaded hole. Notice the bolt going
through the spacer. It will be tightened into the threaded hole
on the H.D. seat.

Now take another look at the nose piece picture. You will see the steel
fitting I
used as a spacer. I don't remember where I got this from, but
anything you can find that looks similar will due..something out of the
plumbing supply department of a store perhaps. You will be
welding it so it must be of steel. WARNING! Make
sure the
bolt that tightens into the seat is first put in place, before you weld
the H.D. nose fitting onto the fabricated frame, other wise you won't
be able to slide the bolt down into the spacer. Guess
how I found
out about that mistake?
Finally, take a look at this picture. This is a side view of the
frame. It shows the bend I put into the frame. This was
necessary so the frame would bend up to the nose piece, so I could bolt
it to the H.D. seat's threaded nose hole. I bent the frame by
putting it into a large vise and hitting it with a large heavy
hammer. This bending step is trial and error...bend a little, lay
the frame to the seat and see how it fits...then remove it and bend it
again one way or the other. The correct fit should be where the
frame fits up against the seat with the 3 bolts tightened snug into the
threaded seat holes, without the bolts changing the shape of the frame.
The frame should fit the curve of the seat without having to force it
with the 3 bolts.

Note: If your welder can correctly
penetrate 1/4" metal, you may be able to
modify your existing H.D. seat frame instead of making a whole new one
like I did, using the one in my pics as a model.
Part Four
Now on to the Nose Piece Bracket.
This is how the Nose Piece Bracket
will look when installed.

A 3/8" X 4-1/2" bolt will be slid horizontally through one side
of the bracket, through three 3/8" washers, then through the seat
nose piece cylinder, and then through one 3/8" washer, and then through
the
other side of the bracket. My nose piece cylinder was a little
rusty
inside, so I ran a 3/8" drill bit through it and then cleaned out the
hole with
carb spray cleaner. I also packed grease into the cylinder, so
that
the cylinder will rotate freely on the bolt. I did not tighten
the bolt too
much, since it would bind the cylinder. I also drilled a hole
through the
end of the bolt so I could use cotter pin after the nut, just in case
the
not nut worked itself loose.
In this picture, you will see the
finished bracket.

Here you see the bracket
with measurements.
Side View:

I'm going to make a suggestion here. After a lot of miles, I
altered
the original design of the seat (as shown in the pictures here) for
more comfort. For me, the nose of the seat
tilted up too high, so I lowered it. I made a new "nose bracket"
with
2 holes drilled lower.
See where I showed the measurement of the 2 holes to be 2-1/4 "?
I
changed that to approximately 1-1/4". This caused the seat's nose
to be level
with the back of the seat, when you sit on it. The way to measure
this
hole height correctly is to make it as low as you can without the seat
touching the tank. So what I suggest is that you make the Nose
Bracket but don't drill the 2 holes
in question. Make everything else and put it all together. Then
push
the Nose Piece of the seat down into the Nose Bracket as low as it
will go without the nose of the seat touching the tank. Mark
where the
holes should be drilled, on the Nose Bracket. Then take the Nose
Bracket off and drill the holes. Finally, cut the bracket so that
it is
only 1/2" taller than the tops of the holes you just drilled. That
should do it.
Back view:

...and bottom view.

The holes you see in the bottom view are for the Savage bolts
that will go
where the gas tank/Savage seat bracket was. The gas tank flange
has 2
rubber bushings between it and the bike frame. Then on top of the
gas tank
flange are 2 more bushings. Then on top of those bushings goes the new
'nose
piece bracket'. The original Savage bolts go straight through the
'nose piece' bracket, the bushings, the gas tank flange, the other
bushings
and finally into the frame. I used Loctite blue on those
threads. Look again at the picture of the mounted bracket
and you will see all this.
Finally, look at this picture of the entire assembly mounted on the
bike. This will show you how
the seat nose piece cylinder fits in between the nose piece bracket.

Part Five
This part completes the instructions.
I would
recomend tack welding everything together and do a trial
assembly. I would:
- First, tighten the clamps on the shock arms.
- Then tighten the seat frame to the seat.
- Attach the springs
to the seat.
- Then attach the seat & its springs to the
clamps.
- Then push the nose cylinder down into the gas tank nose
piece bracket assy, and
- slide the bolt through.
Stand back, and
look everything over. Then sit on it gently and relax.
Everything okay? Now have someone watch the shock absorber
springs while you bounce up and down. Do they move? Ideally only
the seat springs should move. If the shock springs are flexing,
then your seat springs are too stiff and you need to remove some more
spring thickness, as I earlier described here. If all is good, then
disasemble everything and do all your final welds.
Now lets talk about the clamps. The clamps I got were not exactly
round, where they clamp together. They were more of an
oval. But the shock arms are round. Its important that the
clamps have as much surface touching the shock arms as possible. They
are aluminum and are being asked to support a lot of weight. What I did
was to buy a container of "Quick Steel", which is a metalized epoxy
putty. Here's a picture:

I bought this
at Walmart in the auto supplies section. They keep it alonside
Loctite and Permatex sealers. You cut off the size piece you
want, then knead it. Then you put TOO much on both inner surfaces
of the clamp, and clamp it to the shock arm. Excess will squeeze out
the sides of the camp. The clamp stud must be exactly vertical, so I
used part of a right angle level:

....and laid
it against the stud. Then I slowly tightened the clamp, adjusting the
angle all the time in order to keep the stud exactly vertical. Note: This
product starts to harden in 5 minutes, so have everything right near
you when you start. Now, since you used excess to be sure
that all the gaps
between the shock arm surface and clamp surface were filled, when you
tightened the clamps, alot squeezed out the sides and it's messy.
You need to GENTLY cut that excess away, with an Xacto knife or razor
or something. Surgically cut the excess away. Don't pull or
drag it away, because that will pull it out from the gaps that it is
filling...it still hasn't hardened 100%. That takes overnight.
Then mix some more and fill in any seam gaps between where the clamps
bolts bolt together. Remember, once you do this, its on for
good.
Well, not exactly. Cured epoxies and Loctite can be
rendered uselss if you aim one of those little hand held butane torches
at the metal. The epoxy or Loctite will start to smoke and once
it does, you can loosen the piece or the nut. The epoxy or Loctite will
turn into dust.
You will run into a problem trying to tighten the nuts holding the
spring assy. to the seat & clamps. The problem is trying to
get a wrench in through the sides of the coils, so you can reach the
nut. I had to grind a wrench thin to do this.

...and from the side:

This is tedious work even with a ground-thin wrench and you will need a
real skinny small screw driver to fiddle with the nut through the coils
so you can get it started on the stud. Gravity has to be used,
which is why I earlier said to lay the seat down and attach the springs
to it, first. Then set it down onto the clamp studs, and fiddle
with the clamp nuts until they are on. It takes patience.
(Editor's note - I've personally had
luck doing something similar by using a pin-punch and "tapping" the nut
around, too. You'll still probably need a wrench to torque it down,
though. Honestly, the hard part is getting the silly thing started -
after that, it's not too bad.)
On my final assembly, after I made a dry run and sat on it, I cleaned
all the threads on my assembly and put everything back together using
blue Loctite (WalMart) on all threads.
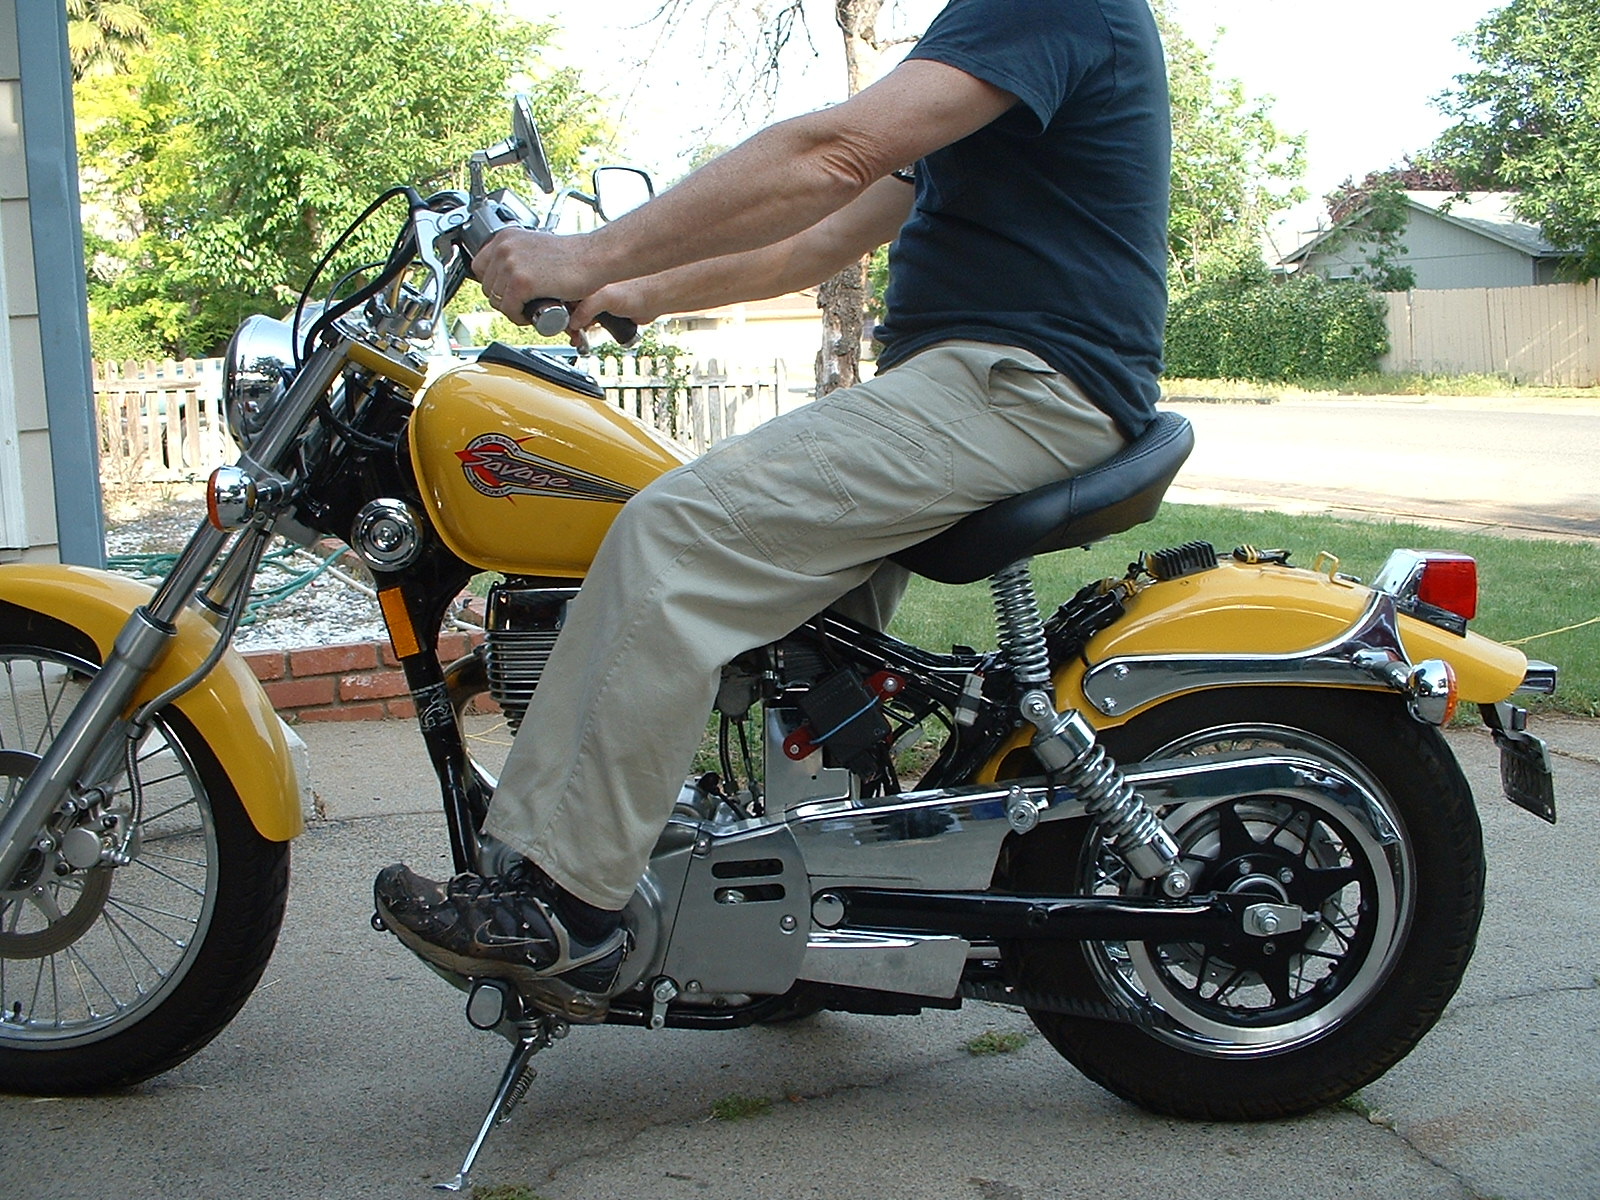
When installed, the rear of the seat will be higher than the
nose. My 180lb weight weight causes the seat to sit level. If
your weight is so much that it causes the rear of the seat to be lower
than the nose, and if this is uncomfortable for you, then you have to
make a new nose bracket and drill the 2 nose piece cylinder mounting
holes lower. This is why everything should be tack welded first
and assembled, so you can make a stationary test fit.
Here's the final installed view:

In order to arrive this final design, I had to make 2 nose piece
brackets to get the right angle for my weight between the nose and rear
of the seat. I bought 2 different sets of springs because the
first set 75% collapsed under my weight. I welded the nose piece
and spacer onto the seat frame before putting the seat bolt in the
spacer, and had to grind the welds off and do it again. I welded
the nose piece on the seat frame and when I tried to assemble it, the
seat bolt going through the nose piece spacer was not aligned with the
threaded hole in the front of the seat, and so on and so on. My
point is: TACK weld everything together first! Its much easier to
grind tack welds off that it is to grind completed welds off!
THIS COMPLETES ALL OF THE INSTRUCTIONS.
This is tedious work, but do-able. Those long springs give you a
nice soft ride. Other riders will pull up alonside you at stoplights
and point to the springs with a smile because they have been watching
you bounce.
If you have any questions, please write me at and I'll see
if I can help.
Have fun and ride safe!
(Edited and HTMLized by Richard T
Perry -  . Version Info - 1.01, 15 July 2008).
Oh, and in case you were interested, this is visit  to this page.
Copyright © 2008
Art MacArthur.
All Rights Reserved. Contact holder for permission prior to
distribution in any form for profit. This
website is provided “as is” without any representations or
warranties, express or implied. Neither Art MacArthur nor Richard T
Perry make no representations or
warranties in relation to this website or the fitness or safety of the
information or other
materials provided on this website.